In this tutorial, you will learn how to create a fantastic Typographic Portrait in Photoshop with just a few clicks.
We will work on a simple exercise where we will take a face close-up and add text and effects in a creative manner in order to get the desired typographic effect.
Just follow the steps given below:
Creating a Typographic Portrait in Photoshop Step-by-step
Step 1: Preparation and portrait selection
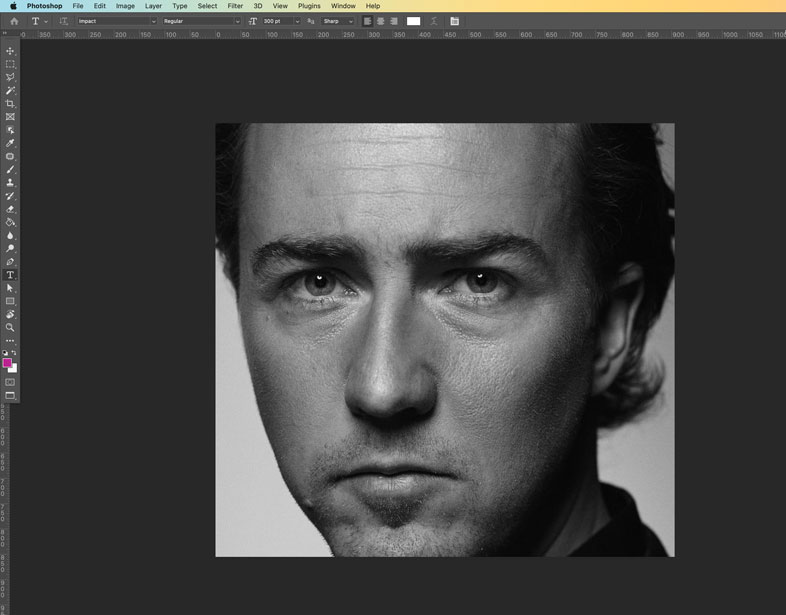
The first thing to do is open any close-up portrait in Photoshop.
Note: If you have selected a colored photograph, then you must desaturate it by going to Images > Adjustments > Desaturate
Step 2: Unlock and hide the layer
In this step, we will unlock the layer of the photograph. To do this, go to the ‘Layers’ panel (shown below) and click on the lock icon to unlock it.
After unlocking the layer, hide it by clicking on the eye icon on the left side of the layer.

Step 3: Create a new layer
Next, we will create a new layer below the one that we already have. For this please click on the new layer icon while pressing the ctrl(command) key on the keyboard to create a layer and place it under the portrait layer.
Step 4: Fill the layer with black color
Now we will fill the layer with black color. Please go to Edit > Fill… A new window will pop up, make sure to select Black in Contents: drop-down menu.
This will fill the new layer with black color as you see in the below screenshot.

Step 5: Working on the text
1. Click T on your keyboard to activate the Text Tool.
2. Since we are working on a poster we will opt for a heavy font.
For this exercise, our choice is the Impact font, but you can select any font/size of your choice. We have set the size to 432.91 pts, sharp and left aligned for this exercise.
3. Type in your first word. Now, click and drag the text to the upper corner in order to reposition it. To resize it, go to the lower right corner and place your cursor in such a manner that a diagonal double arrow is displayed.
Drag the corner to the upper left to reposition the text.

4. Now again, press the T on your keyboard to activate the text tool and resize the second text just like you did with the above text.

Step 6: Preparing for color
Now let’s add color to our text.
1. Go to the Channels panel. If it is not open for you, then please go to Windows > Channels to open the penal.
2. At the bottom of the panel you will notice a small dotted circular icon. Click on it. You will notice that all your text gets selected. Go back to the layers panel and hide the text layers.
3. Create another new layer.
4. Fill it with white by going to Edit > Fill… change the Contents: to white.
5. Now deselect the layers by pressing ctrl(command)+D.

Step 7: Adding color
In this step, we will now add colors to our text.
1. Select the Paint Bucket tool from your tools penal.
2. Go to the top and set the value of tolerance to 30px.
3. Then make sure that the contiguous checkbox is checked.

4. Now select any bright colors and click on each letter to fill it with color. If we hadn’t checked the ‘contiguous’ option, then the entire document would have gotten filled with the selected color.

5. Now, let’s make the first layer (that has the photograph of the face) visible and active by clicking the eye icons.
6. We will now change its Blend Mode to Hard Light, please look at the below screenshot for better understanding.

Step 8: Convert the layer to a clipping mask
We want the face to show only through the text. To do this we will first convert the layer to a clipping mask that will clip the mask to the text under it.
To do this press Ctrl(command)+Alt(option)+G on your keyboard.

1. If you want to lighten dark areas of the poster, then you will find the Dodge Tool very helpful. Select the Dodge Tool, and make sure the Range: is set to Midtones.
2. Set Exposure to any value between 40-50%.
3. Ensure that you uncheck protect tones.

4. While working with the Dodge Tool brush you can resize it by using the ‘[’ or ‘]’ keys. You can use the Dodge brush to lighten the areas that you feel look too dark.
Step 9: Final color adjustment
In this step, we will adjust our colors to surro analogous color palette. Follow the settings in the screenshot to achieve the same effect.

Bingo! You are all done.
That is it, you have just created a nice typographic portrait in Photoshop and your final results should look something like below.
If you are looking for more tutorials related to graphic design, here are two we suggest:


