In this tutorial, we’ll teach you how to quickly generate CSS code in Photoshop and Illustrator with just a few clicks.
Let’s keep things simple and jump to the steps right away!
How to Generate CSS Code in Photoshop
1. Create a new file in Photoshop and draw a shape with the Rectangle Tool (U).
2. We’ll fill the shape with color and set the stroke to none.
3. Name the layer so this will also name the CSS class selector in the code. It’s very important to keep the layers organized!

4. Right-click on the layer and click Copy CSS.

5. Open a source code editor software and paste the code like in the example below.

That’s all!
As you can see Photoshop generated the CSS for this box and added color, position, z-index and width and height properties.
You can use a source code editor to edit the code as you need.
So far we have tried a simple CSS code, but this will also work for complex designs and elements such as gradients or drop shadows. Let’s give that a try!
Adding Drop Shadow effect in Photoshop to Generate CSS Code
6. Select the “Box” layer in Photoshop then in the FX menu select Drop Shadow to apply the shadow effect.

7. A new panel will open. Click on the checkmark in front of the Drop Shadow effect to activate it. Adjust the settings to your needs to get the desired shadow effect.

8. Repeat the steps from 4 to 5. Copy and paste the code in your source code editor software and as you can see the “box_shadow” code has been applied in line 3.

That’s all for Photoshop, we hope this has been helpful and you can use this trick to speed up your web design workflow.
One thing to note, as of this writing Photoshop currently supported the following CSS properties.
How to Generate CSS Code in Illustrator
Now let’s generate CSS code in Illustrator which is a little different but as easy as in Photoshop!
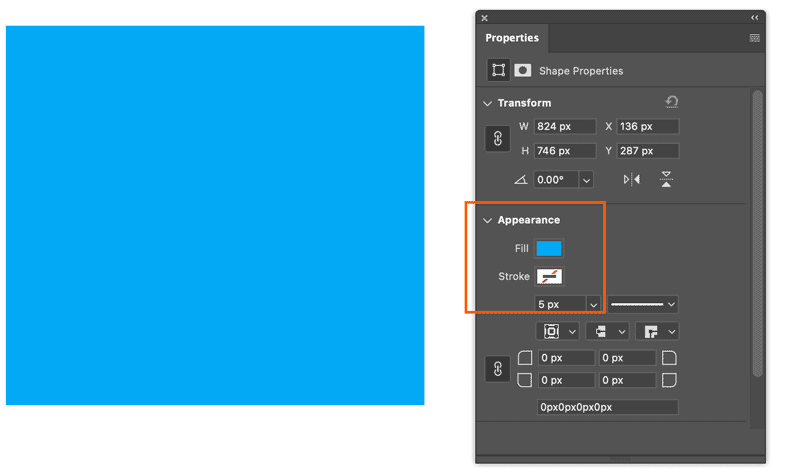
1. Open Adobe Illustrator, create a new file and draw whatever shape you like and maybe type some text.
2. Rename the shape layer and open the CSS Properties panel by navigating to Window > CSS Properties.

Note: If your layers are not renamed Illustrator can not generate CSS code and will give you this warning inside the CSS Properties panel.
No CSS code was generated. To create CSS for unnamed objects, either name the object in layers panel, or enable ‘Generate CSS for Unnamed Objects ‘ option in the CSS Export Options dialog.
3. Rename your layer and Illustrator will generate the code automatically.
If you notice Illustrator added extra numbers next to our renamed layer (CSS class .sun_###) you can delete these numbers if you like.

4. Now let’s write the code for the text that we added. Click on the text later to select it, and Illustrate will generate the CSS code automatically.

As you can see in the screenshot above, Illustrator added all the attributes for the text element, including font family, size, and color.
You can explore more by adding more complex effects such as gradients, drop shadows, and much more.
Now that you have learned how to generate CSS code in Photoshop and Illustrator, please share the tutorial on your social media, and don’t forget to check out our recommended tutorials on Photoshop
- How to resize multiple images in Adobe Bridge and Photoshop
- How to create a typographical portrait in Adobe Photoshop
Enjoy!


